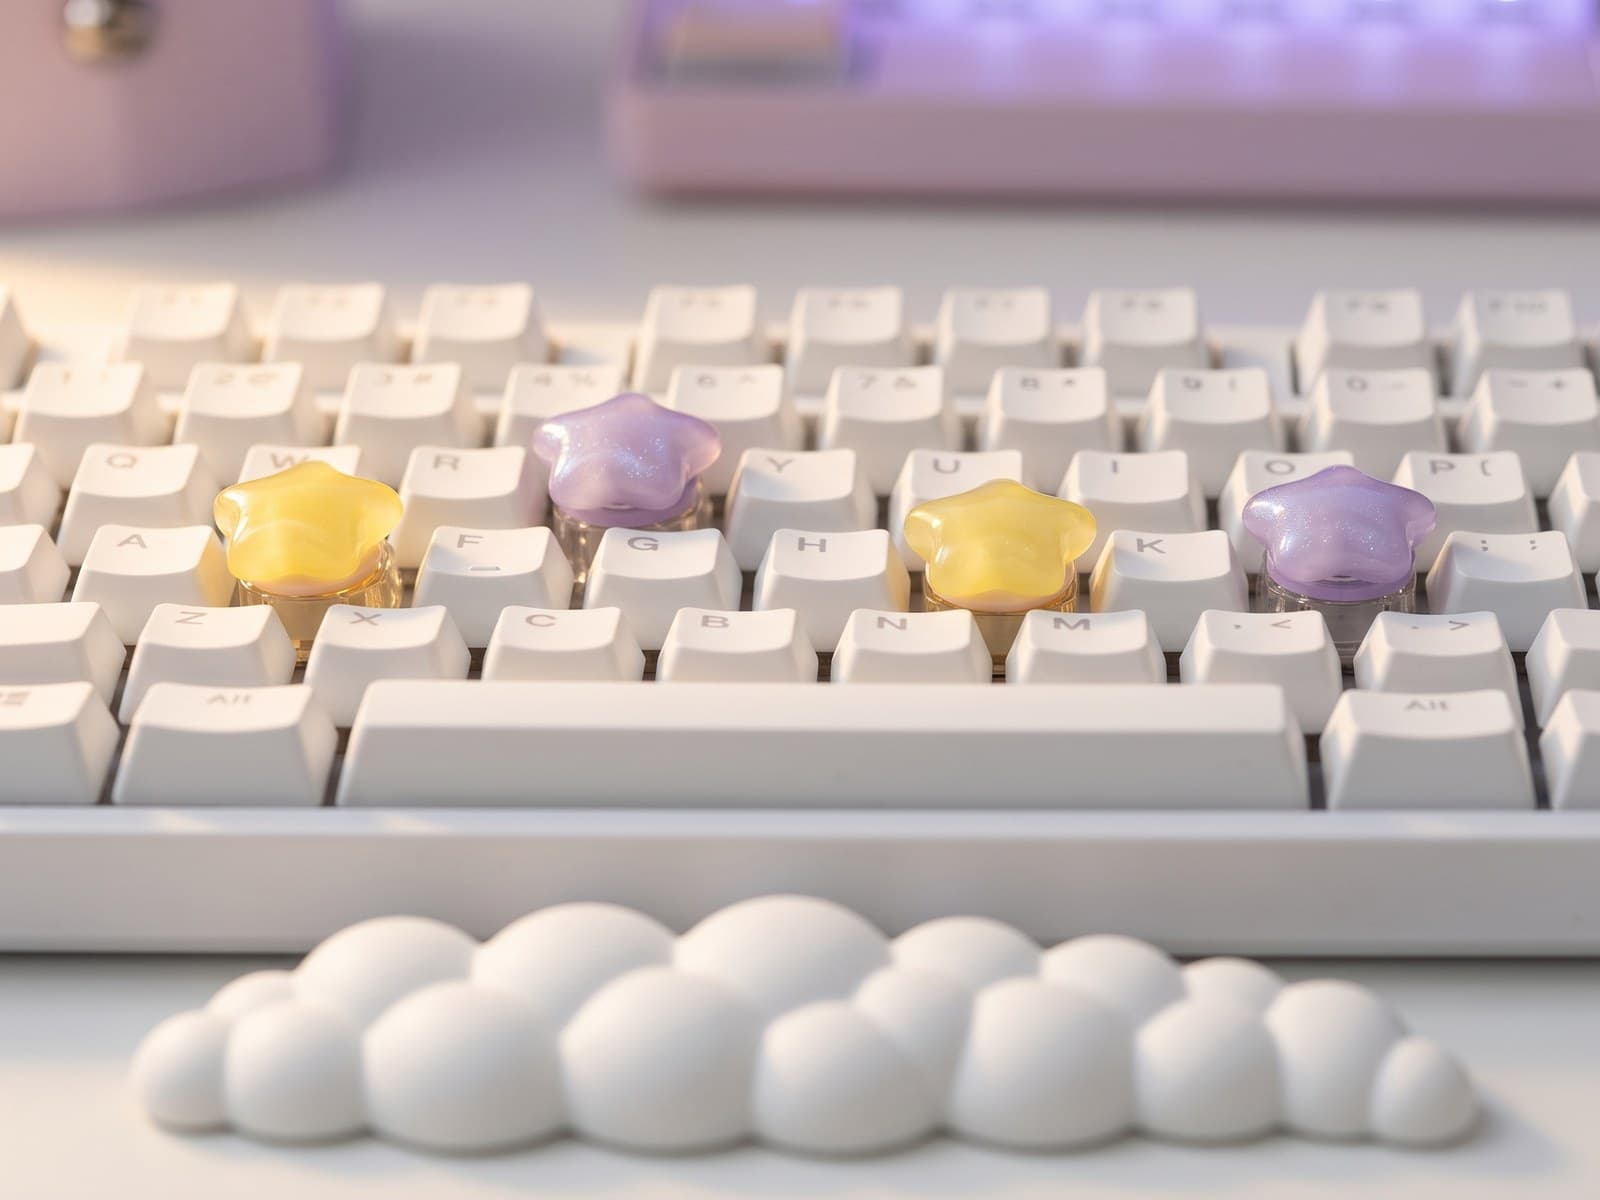
How to Photograph Your Gaming Setup for Social Media
You've built the setup. Now make it look as good in photos as it does in person — phone or camera, the rules are the same.
Step 1: Reset the desk
Before you touch the camera, spend five minutes on the desk. Wipe surfaces, move every "I'll deal with this later" object out of frame, straighten the keyboard square to the desk edge, route the cables, and clear the area immediately around the desk too — the wall behind, the floor underneath, the shelf above. The viewer's eye finds every distraction. Removing them is free.
Step 2: Get the lighting right (this matters more than the camera)
The single thing that separates "phone snap" from "magazine shot" is the lighting setup, not the lens. Two reliable schedules:
- Golden hour shoot — the hour after sunrise or before sunset. Open the blinds, let warm directional light hit the desk. Turn off the overhead ceiling light. Your aesthetic desk lighting can either be on (for layered mood) or off (for natural-light clean).
- Evening shoot — after dark, all overhead lights off, only your aesthetic lighting on. This is where your three-layer lighting work (see the lighting guide) pays off. Set the desk lighting to your two palette colours and shoot at a slightly slower shutter to let the colour bleed in.
Avoid mid-day sun streaming through the window — it produces harsh white blowouts that compete with your desk lighting.
Step 3: Pick the angle
Three angles cover almost every viral setup post. Shoot all three; pick the best in editing.
- 45-degree hero — Camera at desk height, off to one side, pointed at the keyboard. Shows depth, layers, and the relationship between the keyboard and the lighting behind it. This is the "default" desk photo.
- Top-down flat lay — Camera directly above the desk, pointing straight down. Great for keycap close-ups, organisation, and showing the desk mat as a canvas. Use a tripod or steady hand.
- Wide front-on — Camera at sitting eye level, in front of the desk, capturing the whole environment including the monitor and the wall behind. The "desk tour" shot.
Step 4: Composition rules that work every time
- Rule of thirds — Don't centre everything. Place the keyboard along the lower third gridline, with the ambient lighting filling the top two-thirds.
- Leading lines — Use the front edge of the desk and the keyboard rows to draw the eye into the frame.
- Foreground / mid / background — Always have something in each layer. A coffee mug or pixel lantern in foreground, the keyboard in mid, hex panels or a plant in background. Creates depth.
- One hero, one supporting cast — One object (the keyboard, usually) is the main subject. Everything else is the supporting cast. Don't let two objects fight for attention.
Step 5: Shoot in RAW (or ProRAW on iPhone)
RAW files give you much more editing latitude — you can recover shadow detail, fix white balance, and adjust colour without artefacts. On iPhone, enable ProRAW in Settings → Camera → Formats. On Android, most camera apps have an "Expert" or "Pro" mode with RAW capture. Compressed JPEGs lock in mistakes you can't undo.
Step 6: Edit lightly, deliberately
A heavy preset filter ages badly and flattens your lighting work. A light, intentional edit looks timeless. The recipe:
- Lift shadows +10 (rescue the dark corners without flattening)
- Drop highlights −10 (rescue any blown-out lamp glow)
- Warmth +10 to +15 (cosy temperature shift)
- Vibrance +5 to +10 (NOT saturation — vibrance protects skin tones)
- Slight contrast bump +5
- Hue adjustment on your accent colour (pink, lavender, mint) +5 saturation to make the palette pop
Apps that work well: Lightroom Mobile (free for basic, $5/mo for full), VSCO (light filters in the A series and HB series work for warm aesthetics), Snapseed (free Google option).
Step 7: Pick the right platform
- Instagram — 4:5 portrait posts get the most feed real estate. Carousels (3–5 images) outperform single posts. Use 5–10 hashtags inside the caption.
- Pinterest — 2:3 vertical pins are the standard. Strong title + description with keywords. Pins keep working for months, unlike Instagram. This is the under-rated channel for setup creators in 2026.
- Reddit r/battlestations — Wide front-on shot, no edit-heavy filters (the community values "real"), parts list in the comments. One-shot burst of traffic that dies off fast.
- TikTok — Vertical 9:16. A 10-second tour panning across the desk outperforms a single photo. Music + a trending sound matters more than the camera quality.
Step 8: Tag the products
If you're sharing a setup that includes pieces from Kirei (or any brand), tag them. Instagram product tags, Pinterest "Shop the Look" pins, Reddit parts lists. People who like your aesthetic want to know where the things came from — make it one tap away.
Frequently asked questions
Can I shoot on a phone?
Yes. Main wide lens, lock focus, drop exposure slightly, shoot in RAW. Lighting matters more than camera.
What time of day is best?
Golden hour for natural warm light, or evening with your aesthetic lighting on and overhead lights off.
What angle works best?
45-degree side hero, top-down flat lay, and wide front-on at sitting eye level. Shoot all three.
Do I need to edit?
A light edit helps. Lift shadows, drop highlights, +10–15 warmth, slight vibrance. No heavy filters.
Where do setup photos perform best?
Pinterest for compounding traffic, Instagram for community, Reddit r/battlestations for bursts, TikTok for tour videos.
Build a setup worth photographing
Curated keycaps, lighting, and accessories that look as good as they feel.
Shop the Collection